
Adding User Defined Items to an Organisation
It is possible to add user defined items to organisations. This lets you add additional information to an organisation if the default fields provided do not meet all of your needs. To go through this walkthrough, you will need to have at least one organisation on your account – see the “Creating an Organisation” walkthrough to see how to add an organisation to your Propellor account.
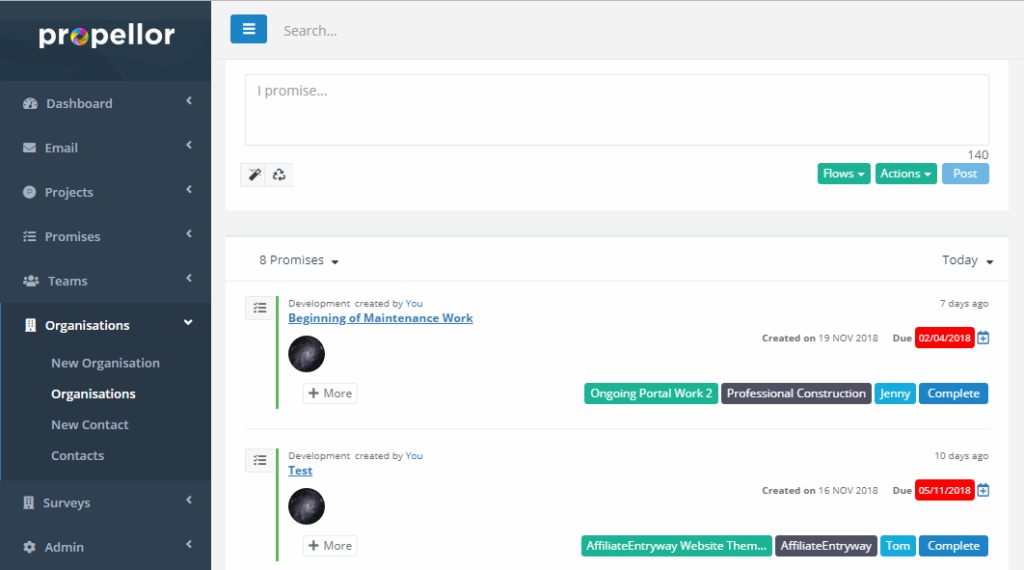
Step 1 – Starting from the dashboard, click on the “Organisations” menu item as highlighted above on the left-hand side. This will open the “Organisations” menu. Click on the “Organisations” link in the menu as highlighted below the “Organisations” menu title. This will take you to the organisations list page.
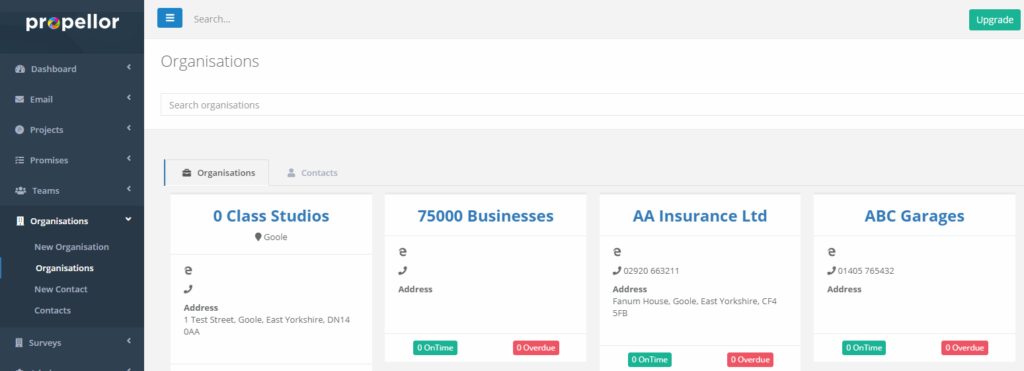
Step 2 – On the organisations list page you will see a list of organisations that have been added to your account, if any. Click on the title of one of the organisations to go to the organisation’s profile page.
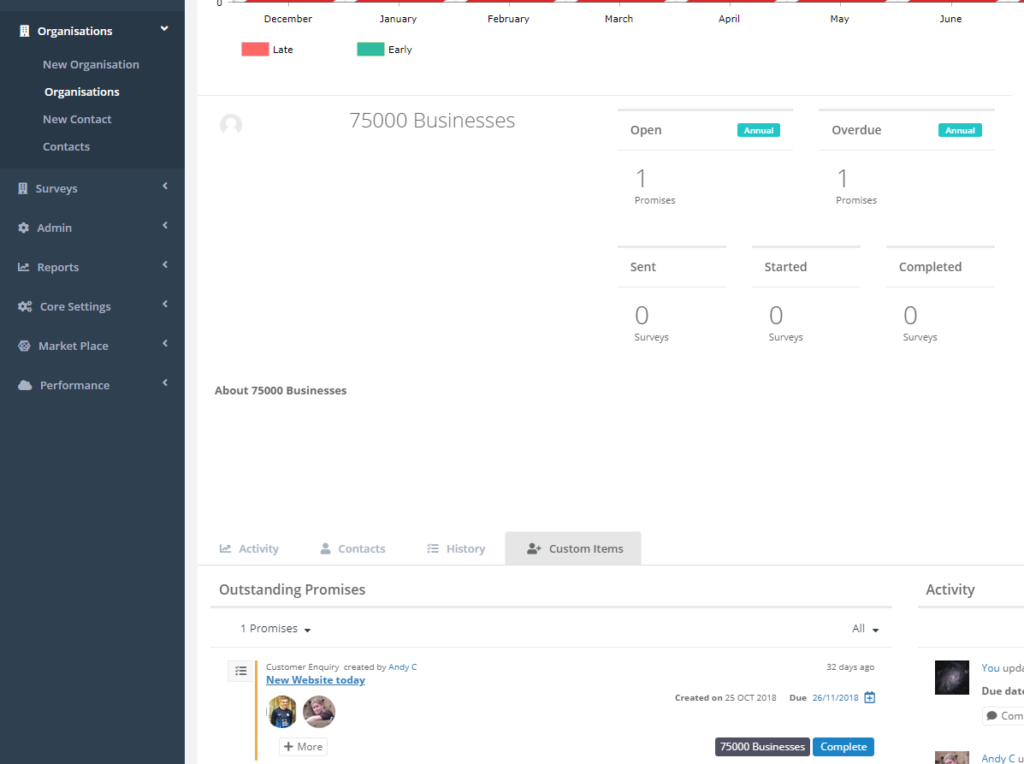
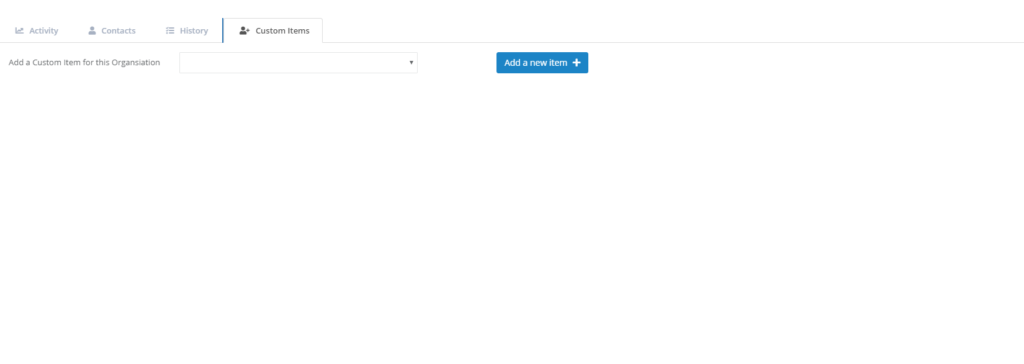
Step 3 – On the organisation’s profile page, scroll down until you can see the list of tabs above the “Outstanding Promises” panel. Click on the “Custom Items” tab highlighted above. This will display the tab for adding and editing user defined items.
Step 4 – When you first click on the tab, it will be blank, as there are no items added for this organisation. You can add existing custom items or create a new one. Click on the “Add a new item” button to start adding a new item.
Step 5 – After clicking “Add a new item”, a panel will be displayed with a number of options on it. The column on the left displays options that apply to the item, and the column on the right displays options that apply to the individual fields on the item, of which there may be one or more.
On the left-hand column:
“Item Name” is the name for the user defined item. This will be the name used to refer to this item in menus and other places where it can be added. The delete icon to the right can be used to cancel adding this item. This field is required for entering the user defined item.
“Item Description” is an optional further description of the user defined item.
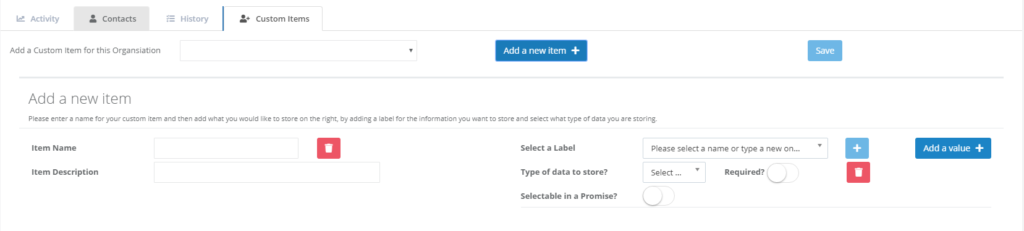
Step 6 – On the right-hand column, you can add one or more fields to this user define item. By default, one will have been added. To add others, click on the “Add a value” button to the right-hand-side of the panel. The options for a field are as follows:
“Select a Label” is for choosing a name/label for the field that you are adding, to identify this field. The label should ideally be short but descriptive enough to identify the information that will go in the field. The box will let you choose existing labels, to add a new label type the label name in the box and click “Add a Value”
“Type of data to store?” lets you choose the type of data that will go in this field. You can choose from basic “text”, which lets you enter ordinary text, “date”, which restricts the field to containing a date, “number” which restricts the field to numerical information, “yes/no” which makes the field a switch or tickbox, and “list”, which allows you to define a list of items that will be added.
“Required?” can either be set to on or off, and it defaults to off. When set to on, it makes the field required, i.e. there must be some information entered on this user defined item.
“Selectable in a Promise?” can also either be set to on or off, and it also defaults to off. When set on, it makes the user defined appear on promises for this organisation.

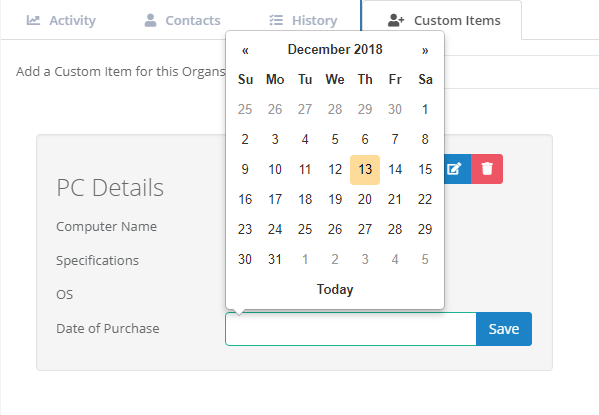
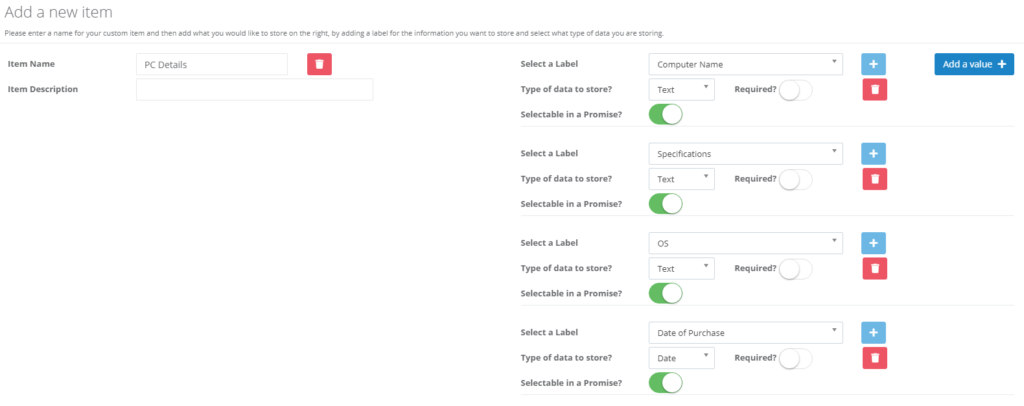
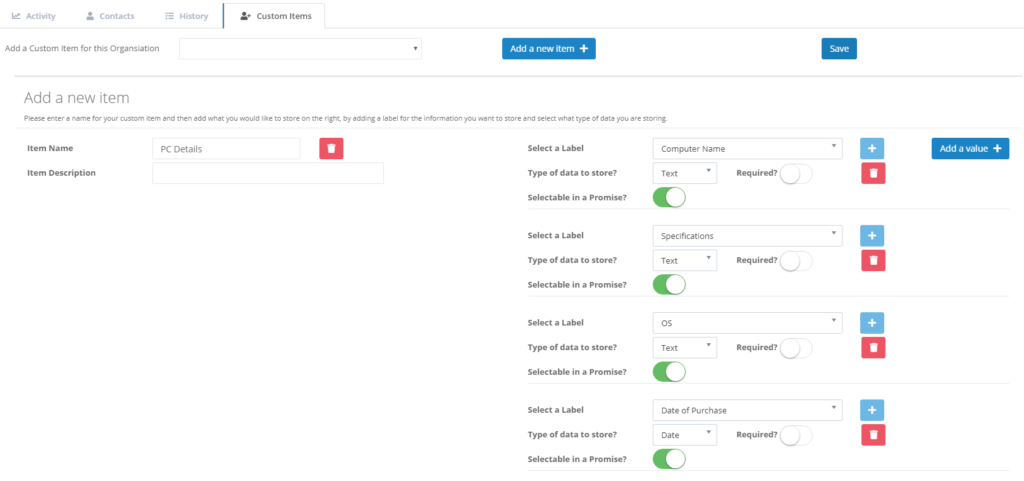
Step 7 – Above we see an example of a user defined item with multiple fields on it. There are three text fields (“Computer Name”, “Specifications”, and “OS”), and one Date field “Date of Purchase”. All of the fields have also been set to selectable in a promise.
Step 8 – Once we have finished adding the user defined item, click on the “Save” button to the top right.
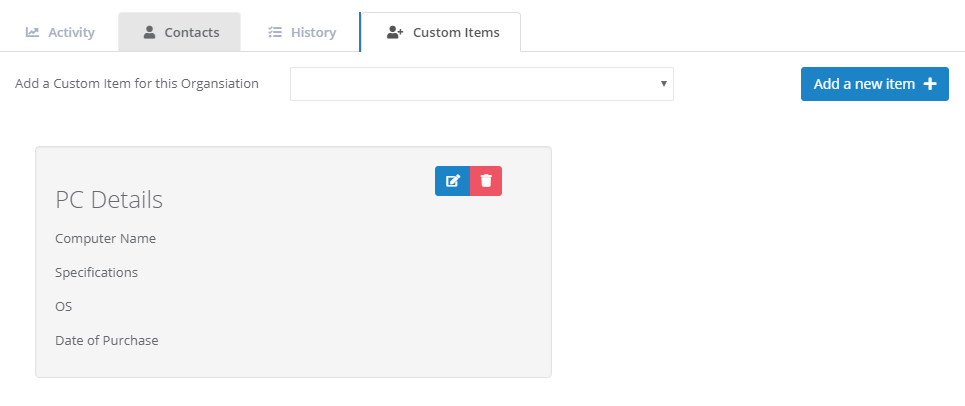
Step 9 – After saving the user defined item, the page will be reloaded. Clicking on the “Custom Items” tab will now show the above user defined item.
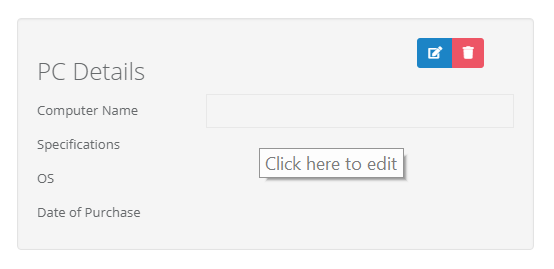
Step 10 – To edit the fields on the user defined item, hover over the boxes to the right of the user field’s name (e.g. in this case to the right of “Computer Name”). You should see the box highlighted as above. Click on the box to edit the field.
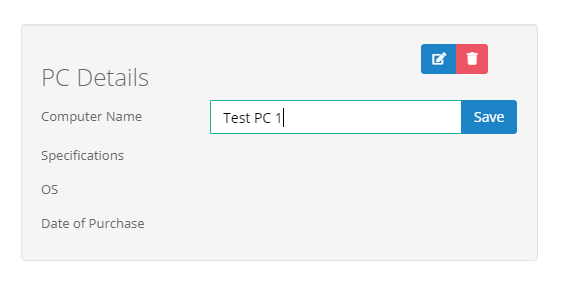
Step 11 – When the field is clicked to edit, an editable box will appear. Here you can type in new text. If you click off of the box or click on the “Save” button, the text will be saved.
Step 12 – When clicking on a date field, a datepicker will appear to allow you to choose a date. For the user defined item fields, values that are entered will all be saved as you go along.