
Adding a User to Your Subscription
When you first sign up to Propellor, your account is created as a member of a subscription. It is possible to add other users to your subscription – for example if you are using Propellor in your business and you want a number of people to be able to create promises. Adding new users is possible if you are the owner of the subscription – this will be the case if you have signed up as a new user.
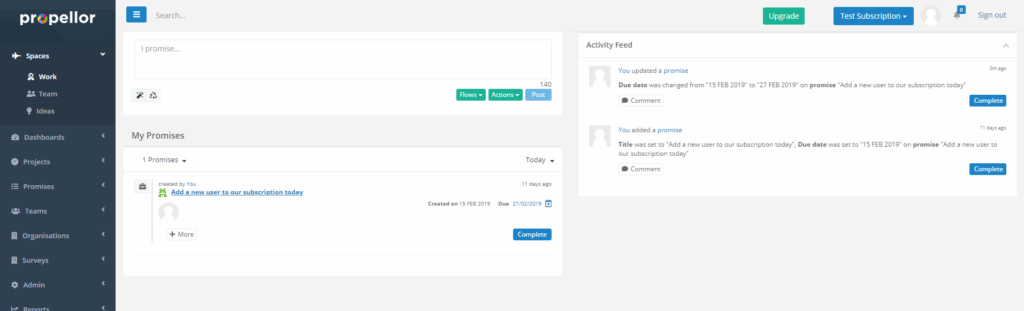
Step 1 – Starting from the dashboard, hover over the blue button with the name of your subscription in the top-right corner of the screen (in the example above, “Test Subscription”). This will open a menu with further options related to your subscription.
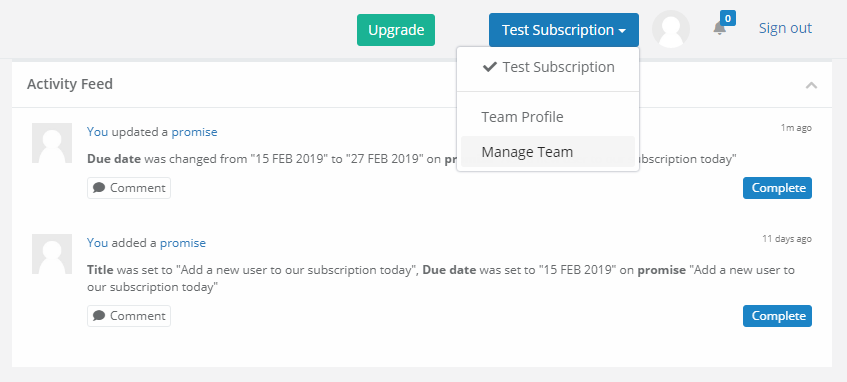
Step 2 – The menu displays various options – the current subscription that you are viewing is selected with a tick next to it in the top section of the menu. Click on “Manage Team” to go to the subscription management page.
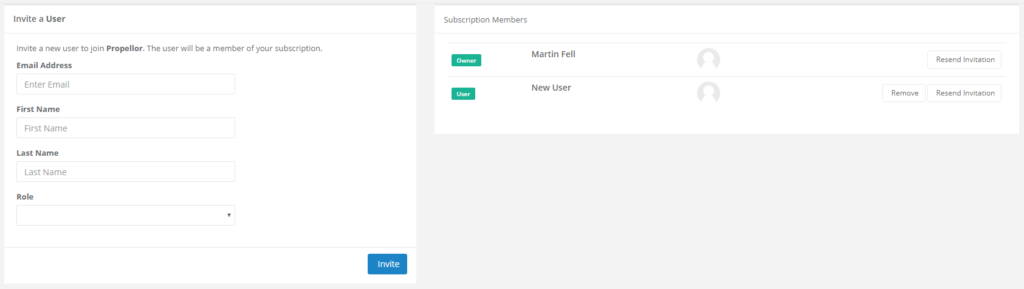
Step 3 – On the subscription management page, you are given a list of current subscription members (in the panel on the right). In the example above, for this subscription there is only one member. On this list, the badge to the left lists the member’s account type in the subscription. In this case, the user is set to “Owner” i.e. the person in overall charge of the subscription.
The “Resend Invitation” button to the right lets you resend the invitation email to the subscription member. This may be necessary if you invited a user to the subscription, but they did not receive the invitation email. See step 4 below to send out a new invitation.
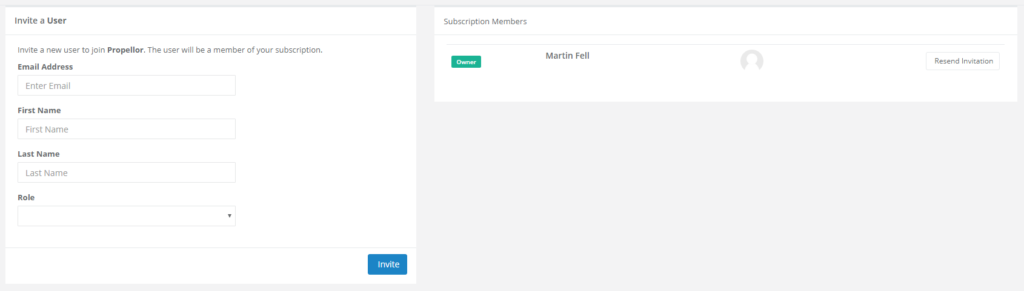
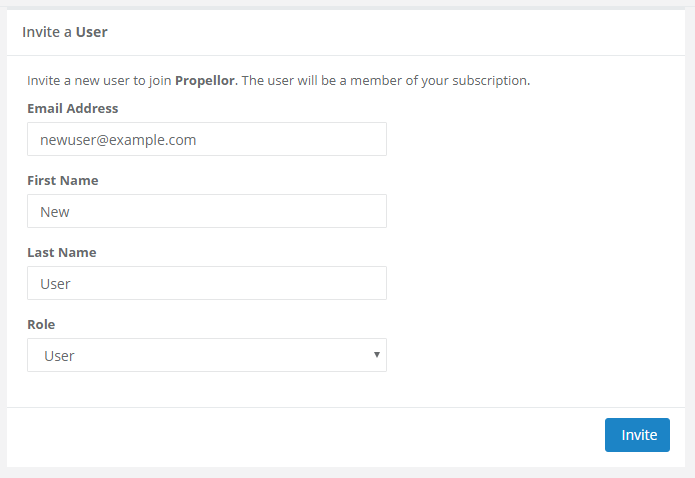
Step 4 – On the subscription management page, the panel to the left is the “Invite a User” panel. This panel lets you invite a new user to your subscription.
When you invite a user, an email gets sent to their email address which allows them to confirm the new subscription. The “Email Address” field is where you enter the email address to send the invitation to. “First Name” and “Last Name” allow you to enter the user’s name. “Role” lets you choose the new user’s position in the subscription. The choices are “Admin”, “Guest”, and “User”. “User” is a basic user who will be able to enter new promises, projects, contacts, and organisations. “Admin” gives the user more extensive access. “Guest” signifies a guest user who will only be able to view promises but not add new promises, projects, contacts, or organisations. In the example above, “User” has been chosen as the new user’s role.
Once you have finished entering the user’s details, click on the “Invite” button to invite the new user to the subscription. This will send off an invitation email to the email account listed under “Email Address”.
Step 5 – Once you have invited the new user, they will appear on the list of subscription members. Note that in the example above the new user has “User” assigned as their role, and since they aren’t the subscription owner, there is also the option to “Remove” the user from the subscription. This completes the process for adding a new user for the subscription owner; the following steps show the process that the user goes through to complete the signup process.
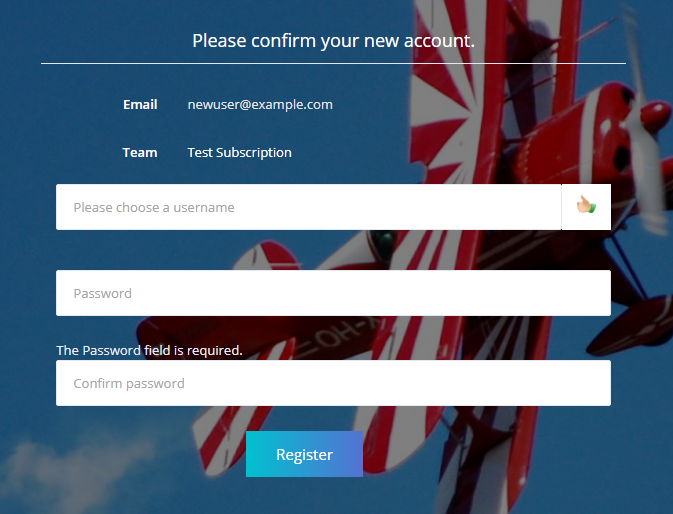
Step 6 – The user should receive a new email similar to the one above. To complete the sign up, click on the “Get Started” link.

Step 7 – The new user will be taken to the above page, which prompts the user to pick a username and password for their new account. The username is the name they will type in when signing in to Propellor; email is a good choice for this field. Note that since this field is used when the user signs in, it must be unique – the “thumbs up” icon to the right of the field indicates whether the chosen username is unique. Once the new user has finished entering their details, click “Register” to sign up. This completes the process for inviting a new user.