
Creating an Organisation
Propellor allows you to add organisations and contacts to your account. This walkthrough shows you how to add a new organisation to your account.
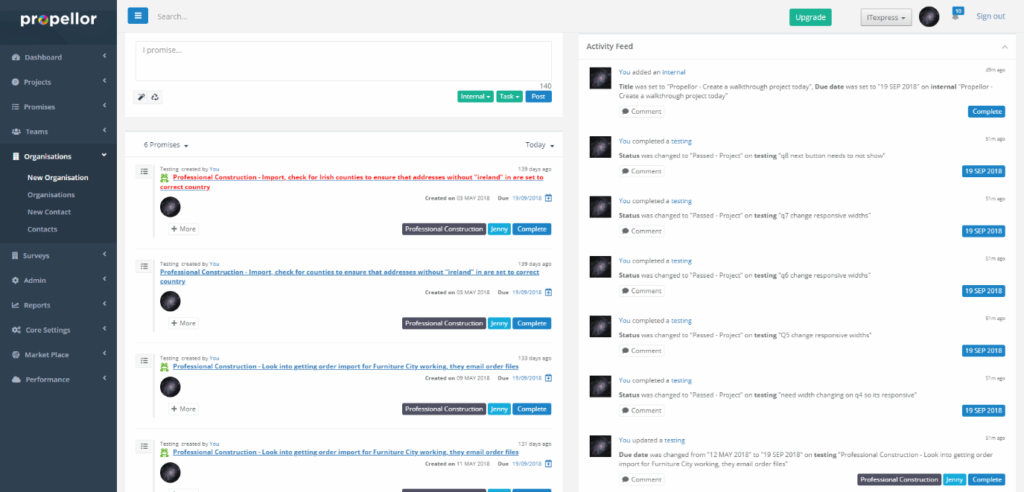
Step 1 – On the Propellor dashboard, the menu at the left-hand side contains links to many different parts of Propellor. Click on the menu item titled “Organisations” to open the menu. Then click on “New Organisation”.
Step 2 – You will now be taken to the “Create Organisation” page. The process of creating an organisation is broken down into several steps which are shown on the tabs at the top of the page.
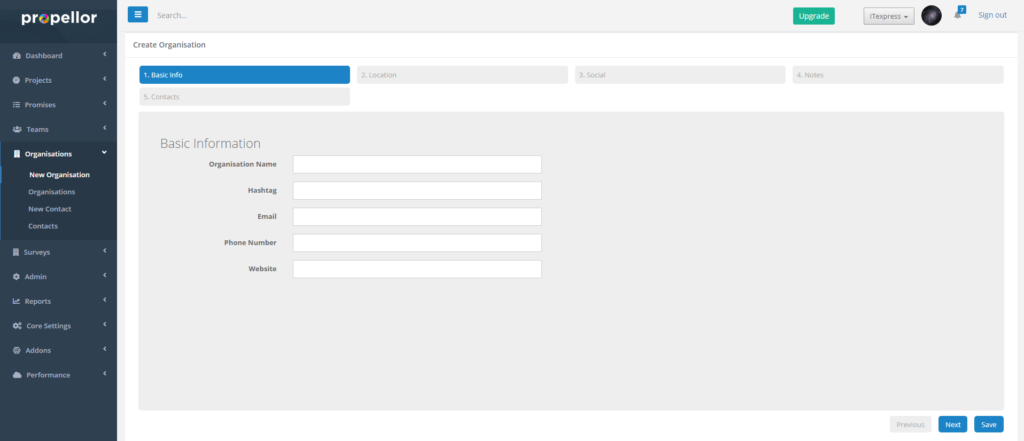
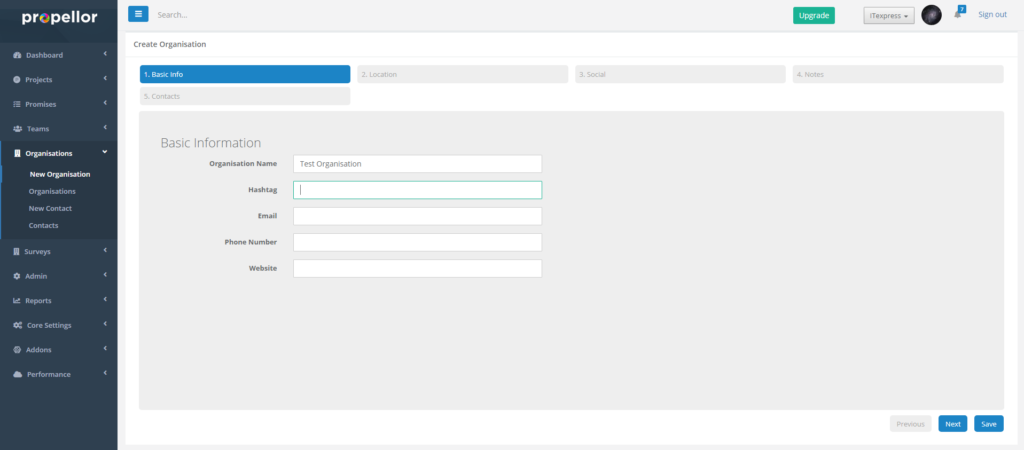
Step 3 – On the first tab, you can enter basic details for the new organisation. The “Organisation Name” field is required, before proceeding you must enter a name for the organisation as shown in the example above. The “Hashtag” field is used by Propellor to identify organisations in a shorter format, if you wish to enter one. “Email” and “Phone Number” are provided to add basic contact information for the organisation. If you have additional contact information, you can add it on the “Contacts” tab (Step 7). “Website” is also provided if you want to add a website address for the organisation. Once you have finished, click on the “Next” button to go to the next step. You can also click “Save” if you have no more information to add to the organisation.
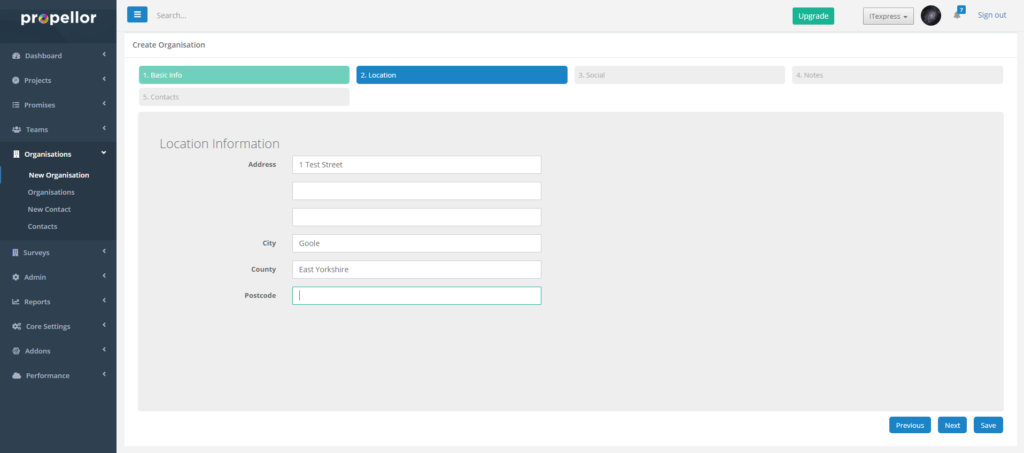
Step 4 – The next tab is the “Location” tab. On here you can add the address and postcode for the organisation. Once you have finished, click “Next” to go to the next step.
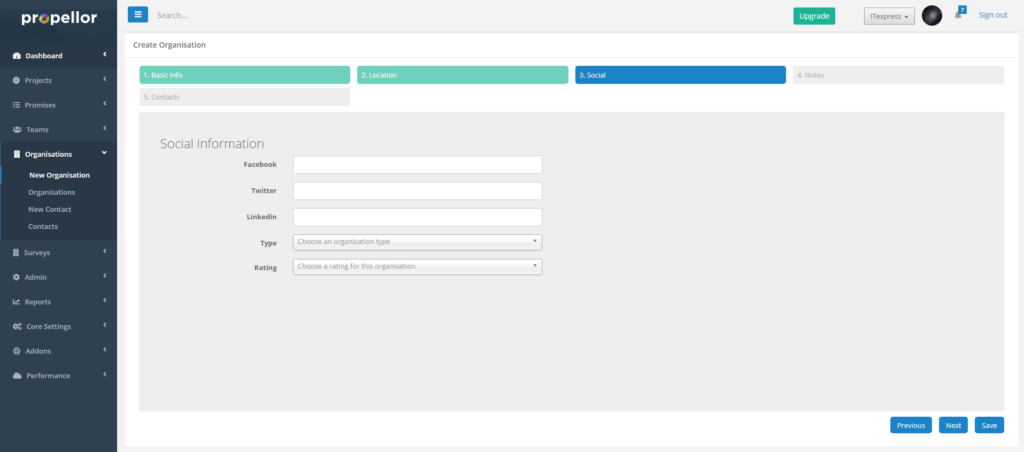
Step 5 – On the “Social” tab, you can enter social networking information for the new organisation, if any. Boxes are provided for Facebook, Twitter, and LinkedIn account information, if available for this organisation. There are also “Type” and “Rating” boxes. These are options that can be added (in the “Categories” section) to allow you to categorise your customers into different types (for example “Customers”, “Suppliers”, etc.) or to assign different ratings to your customers (e.g. based on how important a particular customer is to your organisation). These types and ratings can affect the what section the organisation appears in on various reports available in the “Reports” section, but are not required. Once you have finished entering this information, click “Next” to continue to the next step.
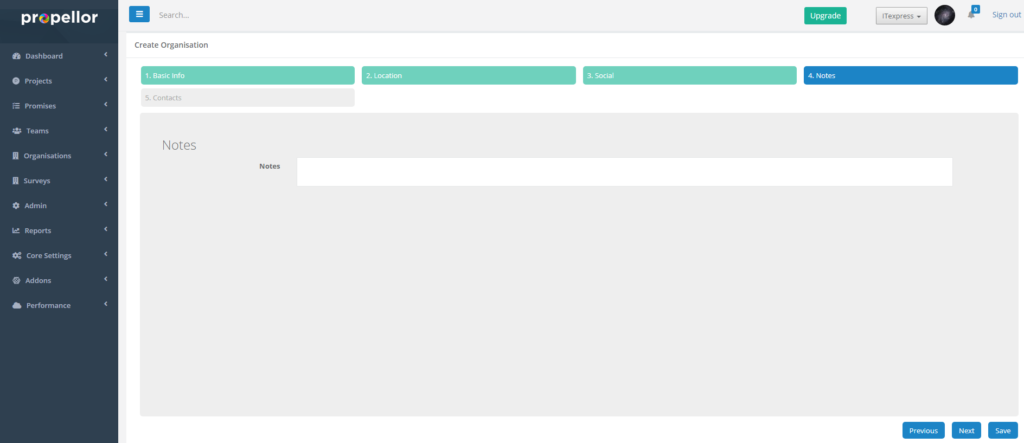
Step 6 – On the “Notes” tab, you can enter any other notes that you want to add for this organisation. Once you have finished or if you have no notes to add for this organisation, click “Next” to go to the next step.
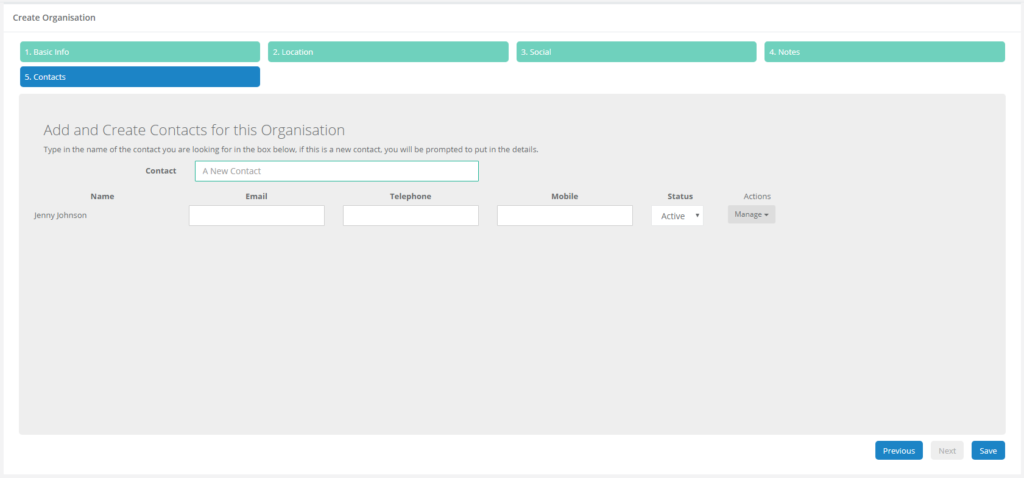
Step 7 – The last tab is the “Contacts” tab. On this tab, you can enter additional contact information for this organisation (if any). You can select existing contacts that you have on your account or create new contacts. The following steps will show you the process of adding extra contacts to your organisation.
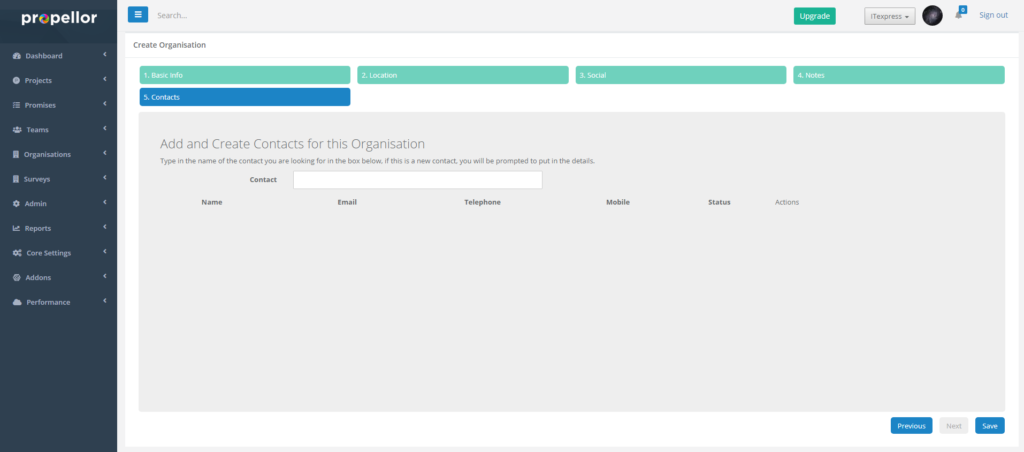
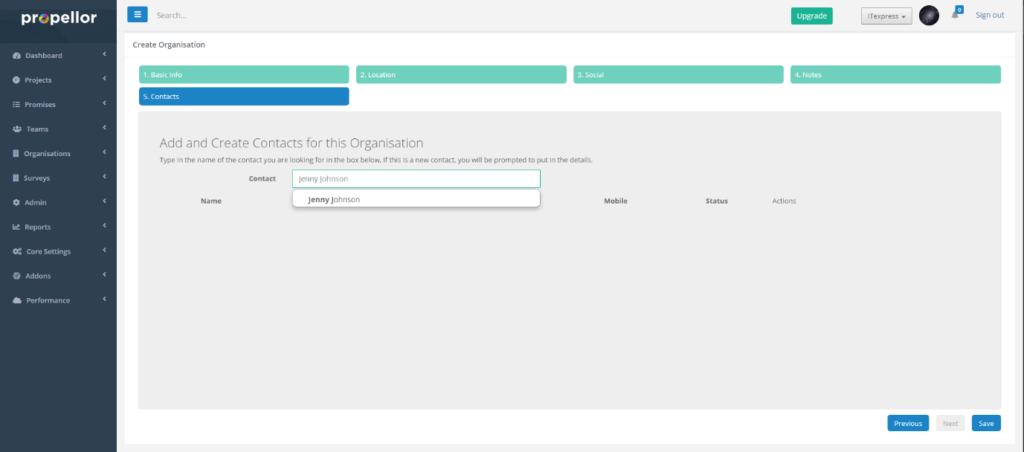
Step 8 – Click on the “Contact” box and start typing a contact name. The autocomplete will show a list of contacts that match your search. If the contact you are looking for is found, click on it to select the contact and add that contact to the new organisation. If the contact was not found, then a window will open that will give you the option to create a new contact on this page (for further details, see Step 12).
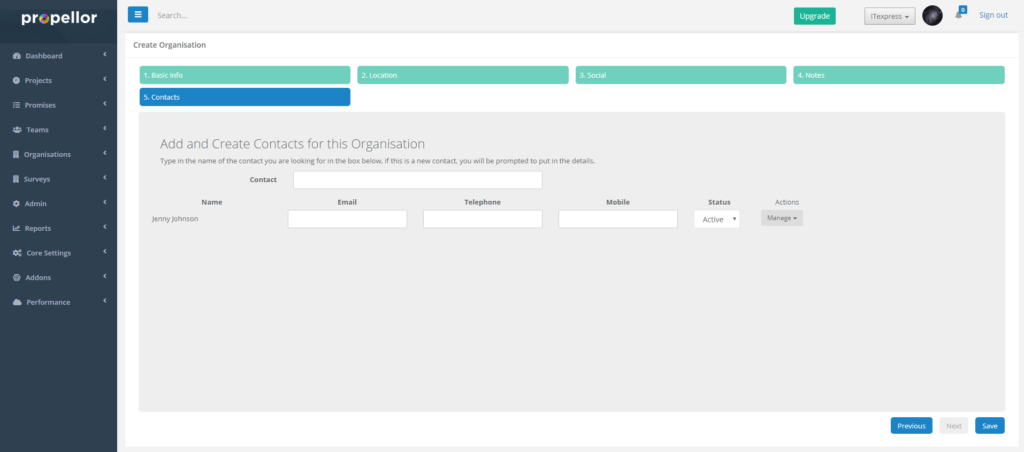
Step 9 – After you have clicked on the contact, they will be added to the list of contacts to be added to the organisation. Several boxes will be provided to add additional information for this contact. You can add email, phone, and mobile information by typing in the boxes provided. This information is attached to the contact in the context of this organisation, e.g. the contact information will be for this contact for this particular organisation. This allows you to add separate personal contact information for a contact while also adding organisation-specific contact information as well.
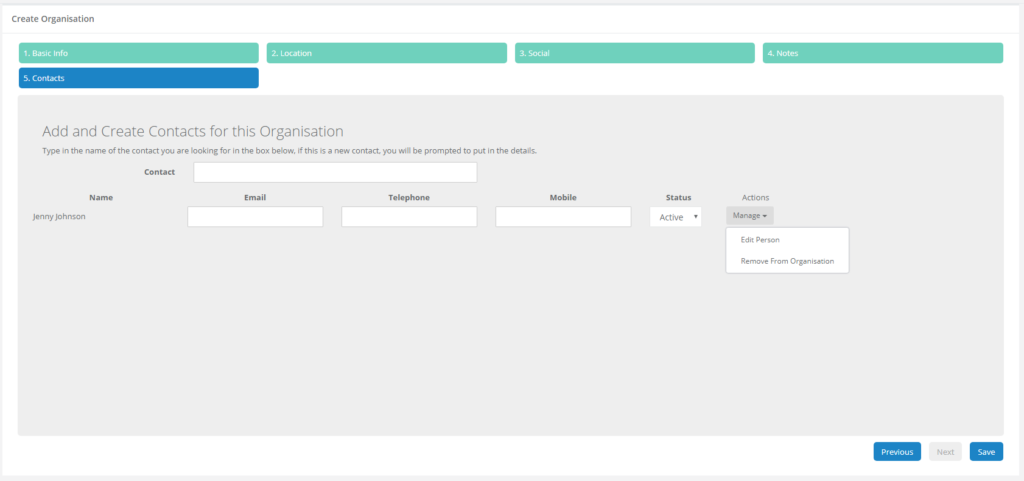
Step 10 – The “Manage” dropdown button also offers additional actions. “Remove from Organisation” removes the contact from the organisation. “Edit Person” allows you to edit the contact’s details (See Step 11). If you don’t want to edit any of the contacts, go to Step 12.
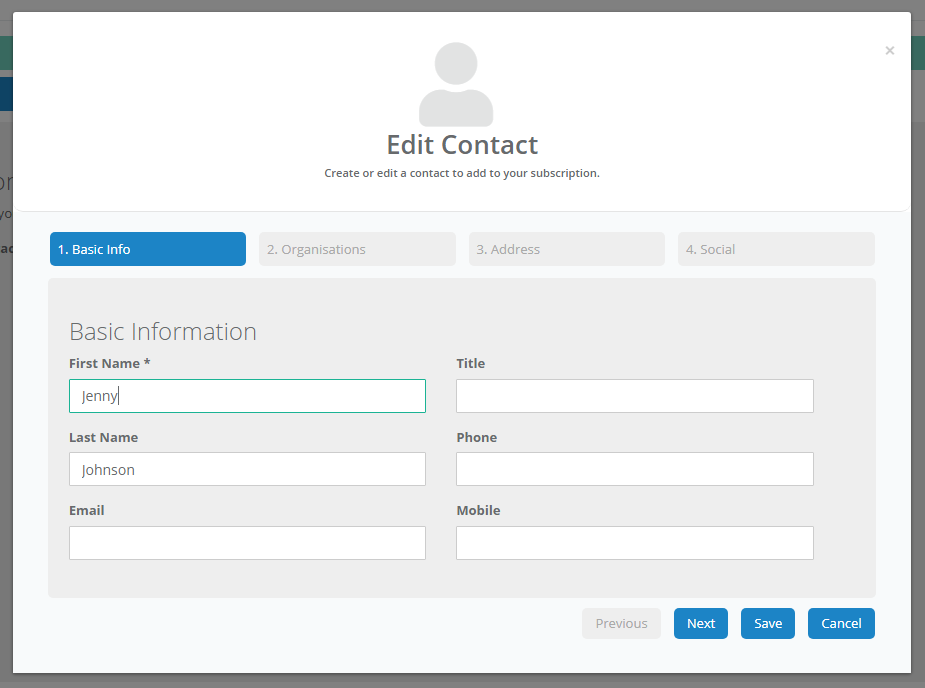
Step 11 – The “Edit Person” button opens up a window with the contact’s details. For further details on editing a contact, see the “Edit a Contact” walkthrough. Once you have finished modifying the contact’s details, click “Save”, or click “Cancel” to cancel the changes you made to the contact.
Step 12 – On the “Contacts” page, as mentioned in Step 8, you can also create new contacts and add them to the organisation. If you type a new name into the “Contact” box e.g. one that doesn’t match any existing contact as shown on the example above, then the “Create Contact” window will appear. See the walkthrough “Creating a Contact on an Organisation” for a guide to adding a new contact to an organisation. Once you have finished, click on “Save” to save the new organisation.