
Creating a Quick Promise
Propellor provides a quick way to add Promises, using the Quick Promise panel. The quick promise panel is found on a number of different pages, but for the purposes of this walkthrough we will use the dashboard.
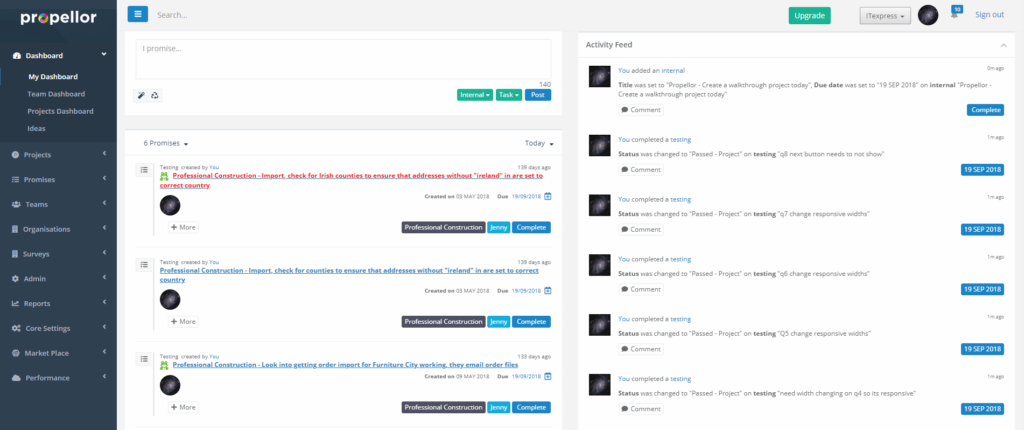
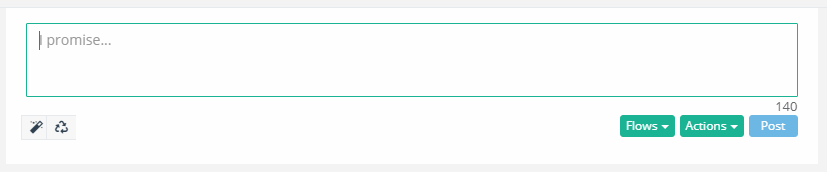
Step 1 – Sign in to Propellor or click on the “Dashboard” menu and click on “My Dashboard” to be taken to the main dashboard page. The quick promise panel is the box in the top left with the “I promise…” text in it. To start entering a quick promise, click on this box.
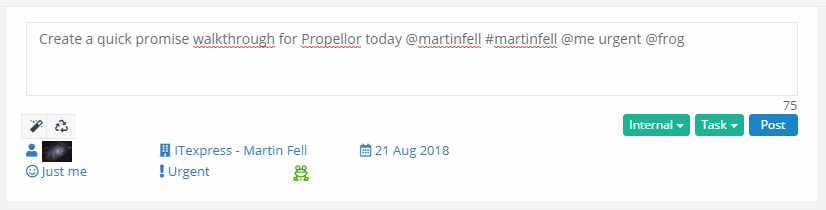
Step 2 – The main box on the quick promise panel is where you type the title for the promise that will be created. It is also possible to add extra information to the promise from this box. You can add hashtags in order to select organisations and contacts and attach them to the promise, and you can also set a due date for the promise, and assign the promise to members of your team, in addition to many other features. To begin, start typing in the title of the promise. The counter in the bottom-corner will let you know how many characters you have left. This count doesn’t include #hashtags or @usertags, because they will be automatically removed from the promise title. Note that the title does have to be at least one character long, not including hashtags or usertags. The post button will be disabled (as displayed above) if you have not typed in a long enough title.
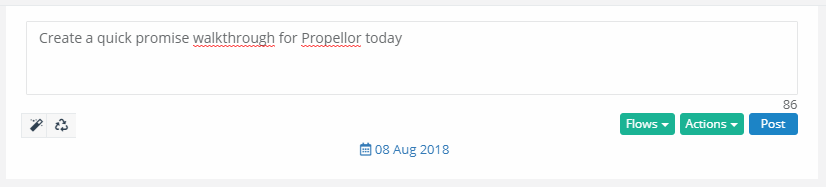
Step 3 – You can assign a date that the promise will be due to be completed by. In this case, because the word “today” was added to the title, a date was added to the promise (in this case 8th August 2018). This date will dynamically match the current date. A number of other date related words will match days, e.g. tomorrow, yesterday, and also weekdays e.g. Monday, Tuesday, etc. The match isn’t case-sensitive (i.e. it doesn’t matter whether the letters are capitalized or not). You can also enter a full date e.g. 28/08/2018 or 28.08.2018 or 28-08-2018, as well as shortened versions such as 28/08/18 or even 28/08 (if the year is omitted, it will assume the current year).
Step 4 – To assign the promise to one or more user(s), type the “@” sign and begin typing the user’s name. This will bring up a list of matching users for the name that you have typed so far. If the user that you are searching for appears on the list, you can click on the user to select them and add them to the promise. Whoever you assign the promise to will be able to see it on their dashboard.

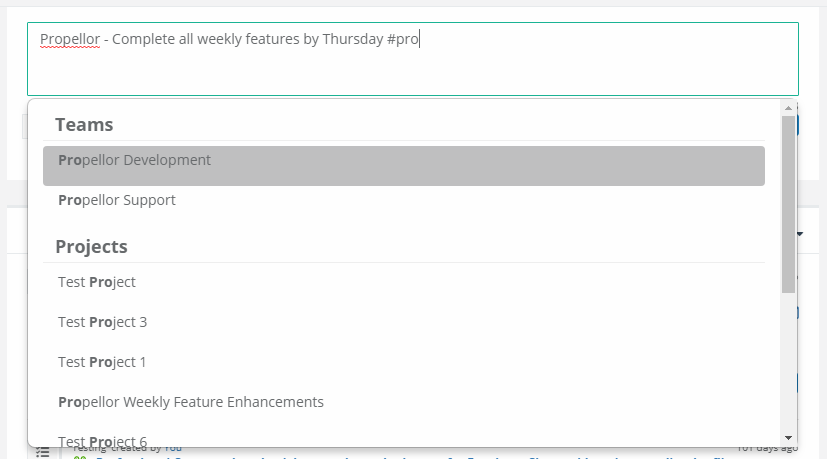
Step 5 – You can also add organisations and/or contacts to the new promise. Type the “#” sign followed by the organisation name, and if any matching organisations are found, they will appear on the list under “Contacts”. Click on one of the organisations to select it and add it to the promise.
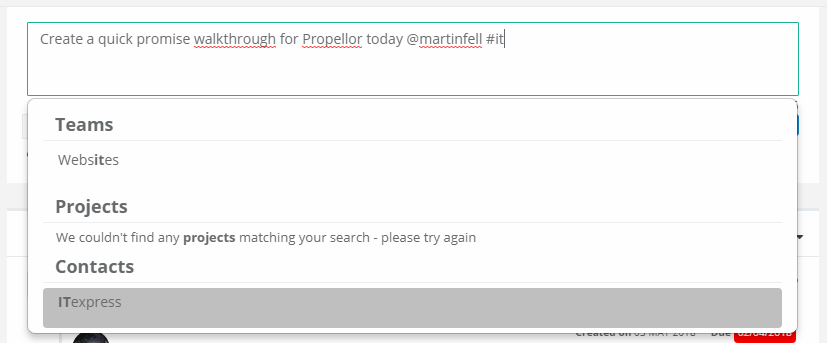
Step 6 – To add an contact (with or without an attached organisation) to the promise, type “#” followed by the contact’s name. Under the “Contacts” section, a list of contacts with matching organisations (if any) will appear. Click on the matching contact to add it to the promise. If the contact is matched with an organisation, then the organisation will also be assigned to the promise.
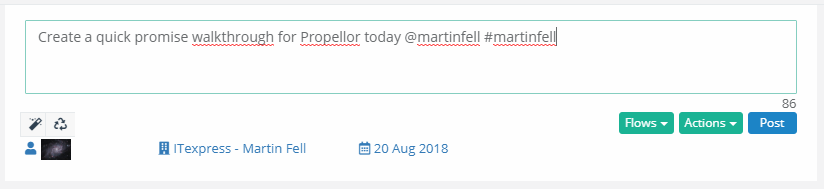
Step 7 – Selected organisations and contacts will appear on the quick promise panel.
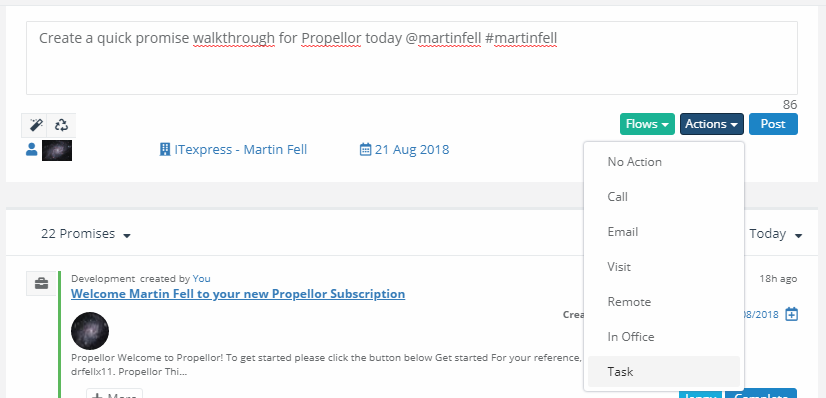
Step 8 – It is also possible to select a flow or an action for this promise. The two dropdowns to the lower right will show a list of different possible flows and actions that can be assigned to the promise, if you have created any on your account. Flows in particular are very important as they determine what type of promise you are creating (for example, a Lead, a Sale, a Problem, a Meeting, etc.), and using the “Flows” designer, you can design workflows to choose what types of promises are created when this promise is completed and customise the information that you can add to the promise (for example, a completed Lead could be set to automatically create a Sale promise when completed if the user indicates that the lead was successful, and no promise otherwise, and extra fields could be added to the lead to let you record specifics about the lead, if any; see the walkthrough “Creating a Flow” and “Editing a Flow” for further information).
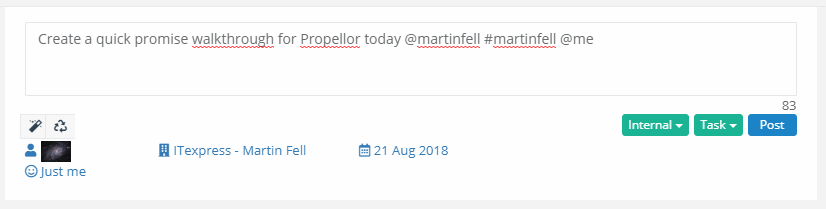
Step 9 – Sometimes, you may wish to create private promises that only you can see on this system. This is possible by setting different “Access Levels” on promises. Promises are usually set to the “Team” access level, which means that the promise can be seen by anyone on your Propellor subscription. If you wish to set the promise to be hidden to everyone except you, type in “@me” followed by a space to set the promise’s “Access Level” to “Just Me”. The access level will be visible in the bottom left of the quick promise panel. If you wish to set the promise back to “Team”, then type “@team” followed by a space.
Step 9 – Various other keywords will be recognised if you type them in. If “urgent” followed by a space is typed in, the promise will be recognised as an urgent promise, and similarly if “@frog” followed by a space is typed in, the promise will be recognised as a frog (i.e. an important task for the day). The above promise has been set as both urgent, and as a frog.
Step 10 – Promises can be assigned to particular users, but in some situations you may not want to assign the promise to a user in particular, but to every user in a team instead. In this case, if you have added one or more teams to your subscription, you can assign the new promise to a team instead (to add new teams, see the “Creating a Team” walkthrough). To add a team to a promise, type in “#” and start typing in the team name, any teams that are found will appear in the “Teams” section in the menu that appears. Click on one of the teams to assign the promise to that team. The promise will now appear on the dashboard for everyone who is in that team.
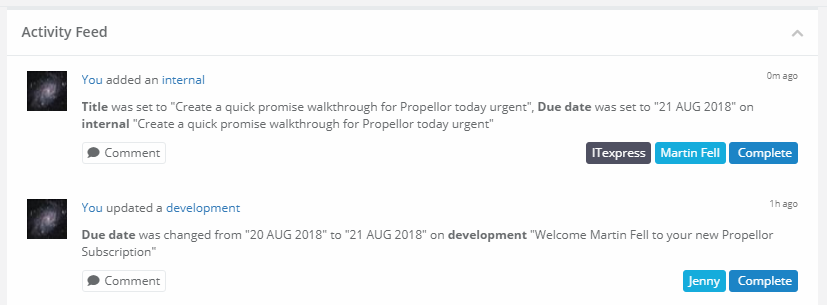
Step 11 – Once you have finished entering the promise details, click on the “Post” button to create the new promise. The post button will be disabled if the title you have entered is too short (i.e. if it has no characters when all of the hashtags and usertags are removed), or if the title is too long (in which case the character count will appear negative and in red text). The created promise will appear on your activity feed.